Читайте также:
|
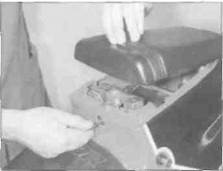
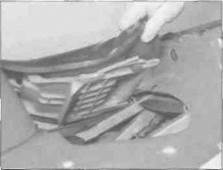
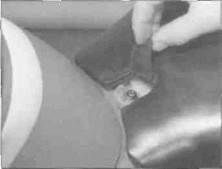
This Chapter covers the procedures necessary to remove and install the body parts. Since many service and repair operations on these motorcycles require the removal of the body parts, the procedures are grouped here and referred to from other Chapters.
In the case of damage to the body parts, it is usually necessary to remove the broken component and renew it (or used) one. The material that the body panels are composed of doesn't lend itself to conventional repair techniques. Note that there are however some companies that specialise in 'plastic welding' and there are a number of bodywork repair kits now available for motorcycles.
When attempting to remove any body
panel, first study it closely, noting any fasteners and associated fittings, to be sure of returning everything to Its correct place on installation. In some cases the aid of an assistant will be required when removing panels, to help avoid the risk of damage to paintwork. Once the evident fasteners have been removed, try to withdraw the panel as described but DO NOT FORCE IT - if it will not release, check that all fasteners have been removed and try again. Where a panel engages another by means of tabs, be careful not to break the tab or its mating slot or to damage the paintwork. Remember that a few moments of patience at this stage will save you a lot of money in replacing broken fairing panels!
When installing a body panel, first study it closely, noting any fasteners and associated fittings removed with it, to be sure of returning everything to its correct place. Check that all fasteners are in good condition, including all
trim nuts or clips ard damping/rubber mounts; any of these must be renewed if faulty before the panel is reassembled. Check also that all mounting brackets are straight and repair or renew them if necessary before attempting to install the panel. Where assistance was required to remove a panel, make sure your assistant is on hand to install it.
Tighten the fasteners securely, but be careful not to overtighten any of them or the panel may break (not always immediately) due to the uneven stress. Where quick-release fasteners are fitted, turn them 90° anticlockwise to release them, and 90° clockwise to secure them.
| mum |
| HilUT |
Models are identified by their production code letter - refer to 'Identification numbers' at the front of this manual for details.
8»2 Bodywork

|

|

|
Дата добавления: 2015-10-29; просмотров: 159 | Нарушение авторских прав
| <== предыдущая страница | | | следующая страница ==> |
| Fitting new tyres | | | А Lift the flap and unscrew the bolt... |