|
Читайте также: |
When assembling the shirt, start from top to bottom. It might be helpful to add pieces from the front so that the texture is aligned.
There are holes on the side for the arms to insert into. This allows the arms to pivot, but they’re optional… If you want, you can skip the sockets and just glue the arms in place.
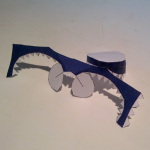
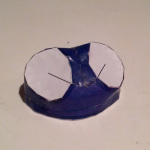
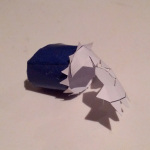
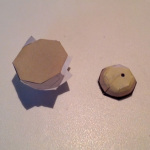
Arm socket
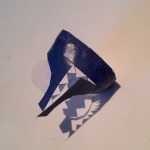
Another view of the arm socket
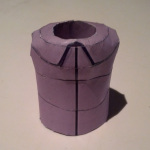
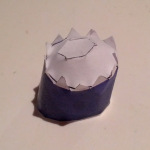
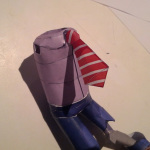
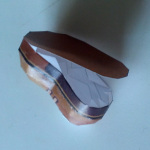
Finished shirt
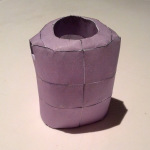
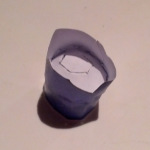
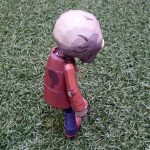
Back of finished shirt
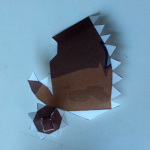
For the pelvis, start from the top.
Closing out the bottom

The flaps where the legs will attach to
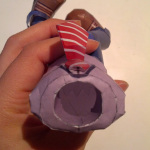
Bottom of finished pelvis
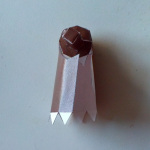
The right leg and left thigh are a little tricky: the bottoms are beveled in for the feet to attach to, but there’s another piece that attaches to the same edge to hide it.
In the pattern, I recommend cutting out extra flaps to attach to, but if you forget (like I did here) you can alternate the existing flaps between the inner and outer pieces.
Glue the bottom of the leg to the same edge as the inner bevel.
Left thigh (this time I remembered to cut extra edges for the bottom piece).
Finished left thigh
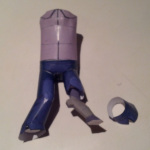
Once you have the shirt and leg pieces assembled, you can glue them together as shown. Note the bottom of the left pants is a separate piece that you’ll need to put around the leg before you glue the foot on.
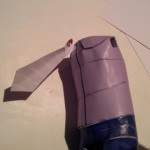
You can now attach the tie. Fold the top corners and use them to attach to the shirt.
For the shoes, start with the top of the shoe.
Glue the bottom of the shoe last.

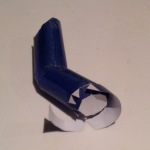
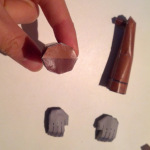
For each hand, start with the thin outer edge and use it to attach the front and back of the hand together.
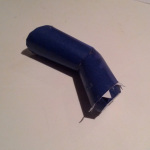
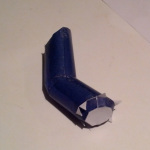
When assembling the arms, start with the top first. Note the pivot is optional, you can skip it and just glue the arm directly to the torso if you want.

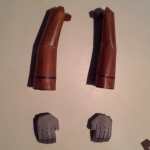
Finished arms and hands.
Eyes
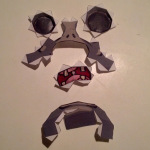
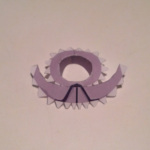
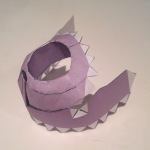
When assembling the head, start with the face first.
Don’t attach the eyes until the face is together.
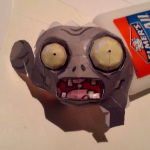
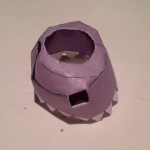
Face is done, you can now work on the back of the head.

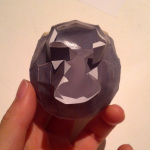
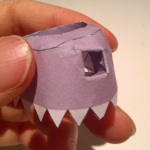
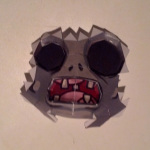
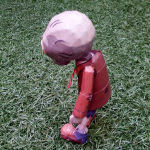
Closing the bottom of the head is the trickiest part… It might help to leave the chin and neck for last since they’re the least visible.
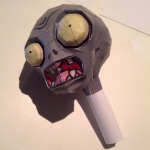
The head is a little too light to stay in the socket but if you roll up some scrap paper and put it in the neck that should be enough to keep it in.
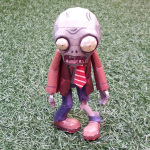
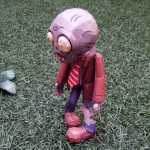
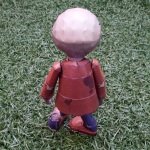
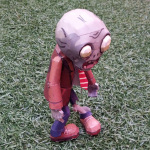
Done!
Дата добавления: 2015-10-23; просмотров: 94 | Нарушение авторских прав
| <== предыдущая страница | | | следующая страница ==> |
| Sign or Zodiac Sign | | | РУКОВОДСТВО ОРГКОМИТЕТА |